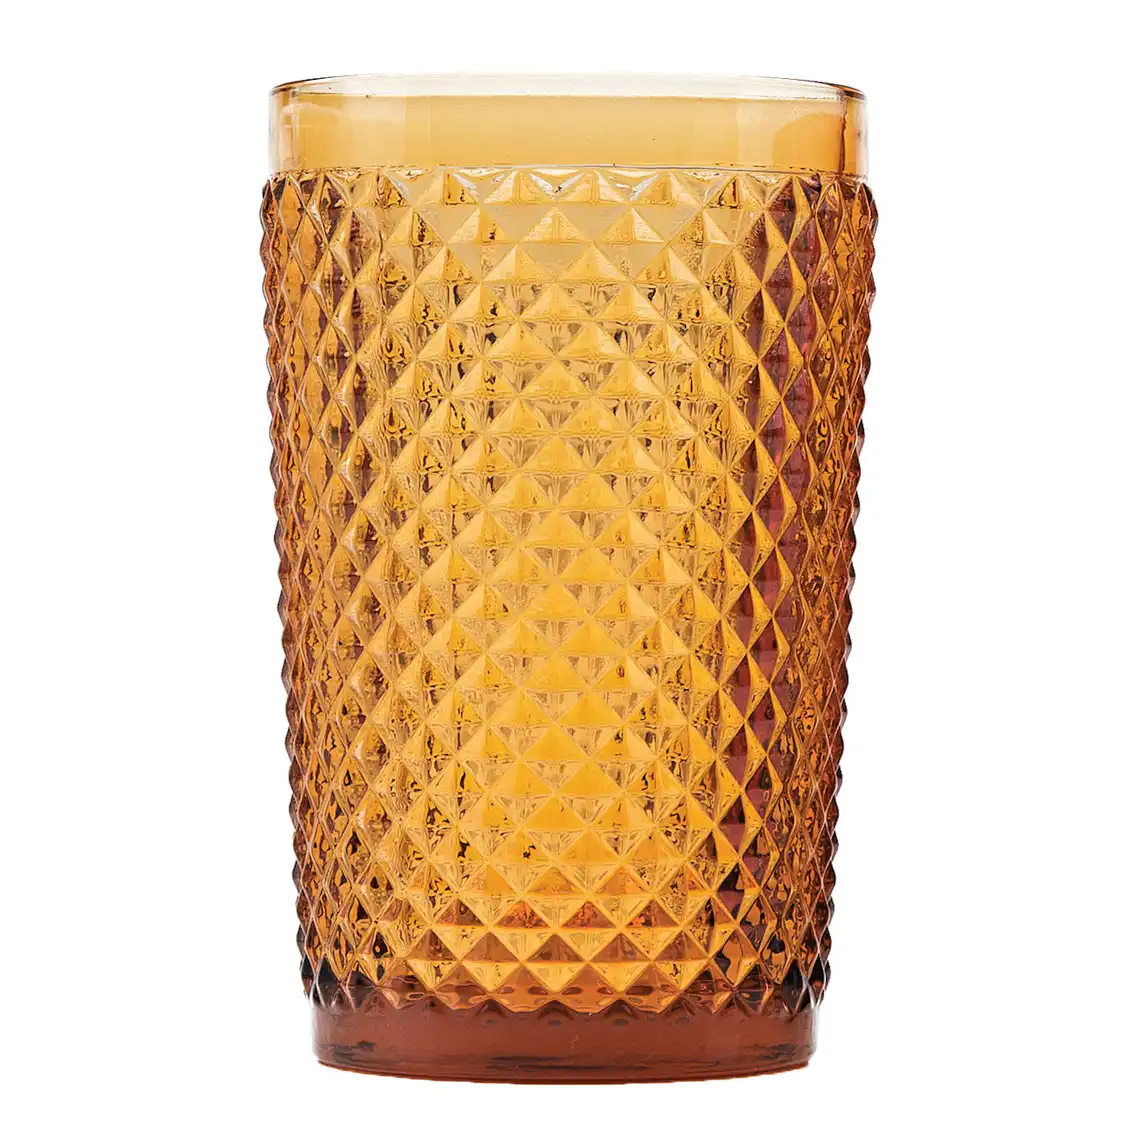

Para ganache
Components
- 400 grams of semi-sweet chocolate containing 50% to 60% cocoa
- 1 1/3 cups (tea) of fresh milk cream (320 g)
- 2 and a half tablespoons of honey
- 3 tablespoons of butter in the ointment
Setup phase
- Begin preparing the ganache so that by the time the cake is baked and cooled, it will have the perfect texture for filling and coating. On the work surface, chop the chocolate into small pieces and place them in a bowl—the finer the pieces, the easier they will melt. If the butter is slightly cold, warm it in the microwave for a few seconds to achieve a creamy consistency.
- Place the fresh milk cream in a small pan and heat it over low to medium heat, stirring occasionally with a spoon. Be careful not to let the cream boil. When small bubbles start to form, test the temperature by dipping your index finger in for 4 seconds. If the cream is too hot, the fat in the chocolate and cream will separate, causing the ganache to become grainy.
- Pour the hot milk cream over the chopped chocolate and let it sit undisturbed for 2 minutes to ensure the chocolate heats evenly. Carefully stir with a silicone spatula until the chocolate fully melts and creates a smooth mixture. Add honey and butter, then gently mix until the mixture becomes glossy.
- Allow the ganache to cool fully at room temperature for approximately one hour before placing it in the refrigerator. In the meantime, you can start preparing the cake. Once the ganache has cooled, cover it with plastic wrap and refrigerate for about 40 minutes until it firms up and attains the perfect consistency for filling and covering the cake.
NOTE: The ganache can be prepared the night before and left at room temperature to maintain the perfect consistency for coating the cake in the morning. Alternatively, you can store it in the refrigerator for up to 15 days; just reheat it gently in a water bath before use, stirring carefully and avoiding overheating.
PARA MASSA
Components
- 2 tea cups of wheat flour
- 1 cup (tea) of cocoa powder
- Four eggs
- 1 cup (tea) of roasted coffee
- 1 cup of cooking oil
- 1/2 cup of granulated sugar
- 1/2 cup of brown sugar (tea)
- 1 tablespoon of baking powder
- Grease and dust the mold with butter, flour, and chocolate.
Ready state
- Set the oven to 180 °C (medium heat). In a small bowl, combine half a tablespoon of wheat flour with one tablespoon of cocoa powder, as instructed in the book.
- Butter a round mold measuring 20 cm in diameter and 10 cm in height, spreading a thin, even layer. Cut a paper disk to fit the bottom of the mold using its base as a guide. Press the paper onto the unbuttered bottom with your fingers, then butter the paper again. Sprinkle the bottom and sides of the pan with a mixture of flour and cocoa powder, tapping the pan over the sink to remove any excess.
- In a bowl, combine the flour with cocoa powder and baking powder.
- In a small bowl, crack one egg at a time and pour it into the blender—this way, if one egg is bad, the recipe isn’t ruined. Add the coffee and oil, then pulse briefly to combine. Next, add the sugars and blend thoroughly until the mixture is smooth.
- Pour the liquid mixture into a large bowl and gradually add the flour mixture through a sieve. Carefully blend with a wire whisk to combine and keep the dough smooth. Lastly, stir in the baking powder.
- Put the dough onto the prepared mold and spin it on the countertop to even it out. Bake in the oven for approximately 50 minutes – to test, insert a toothpick; if it comes out clean, it’s done, otherwise, bake for a few more minutes.
- Take the cake out of the oven and allow it to cool fully before removing it from the mold. In the meantime, make the syrup.
Please provide the text you would like me to paraphrase.
Components
- One-third of a tea cup of sugar
- One-third cup of water (tea)
- 1 piece of lemon zest
Mode of preparation
- In a small saucepan, combine sugar, water, and lemon peel. Heat over medium heat, and once it reaches a boil, continue cooking for an additional minute until the sugar is fully dissolved. Remove from heat and allow it to cool.
For assembly
Mode of preparation
- After the cake has cooled, place a removable round mold on the baking sheet (this can also be used to transport the sliced cake layers if you choose to use a plate). Immediately invert the mold to release the cake, remove the parchment paper, and flip the cake onto the board—this way, the base, which is firmer, will become the top of the finished cake.
- Using a bread knife, slice just the top of the cake to make it even. Then, cut the cake horizontally to create two layers (alternatively, you can use a thick string instead of a knife). Once more, use the base of a mold to move the first cake layer onto the serving plate.
- Using a spoon (or brush), dampen both cake layers with syrup. Then, with a spoon, evenly spread approximately one-third of the ganache over the first cake layer, starting from the center and moving outward – this will serve as the filling. Place the second cake layer on top and gently press down to secure it.
- To decorate, start by spreading a thin layer of ganache evenly over the cake and smooth it out with a pastry spatula. Then, cover the cake with the remaining ganache for decoration: you can use spoons to create a rustic look, make patterns with the spatula tip, or scratch designs with a fork. Serve immediately or refrigerate until the event.
Advice for Planning
If you like, you can prepare and assemble the cake the day before the event and store it in the refrigerator. The ganache helps to preserve the cake and maintain its moisture. On the day of the party, take the cake out of the fridge at least 3 hours prior to serving to allow the filling and coating to regain a creamy texture.
Purchase only what is necessary
Store
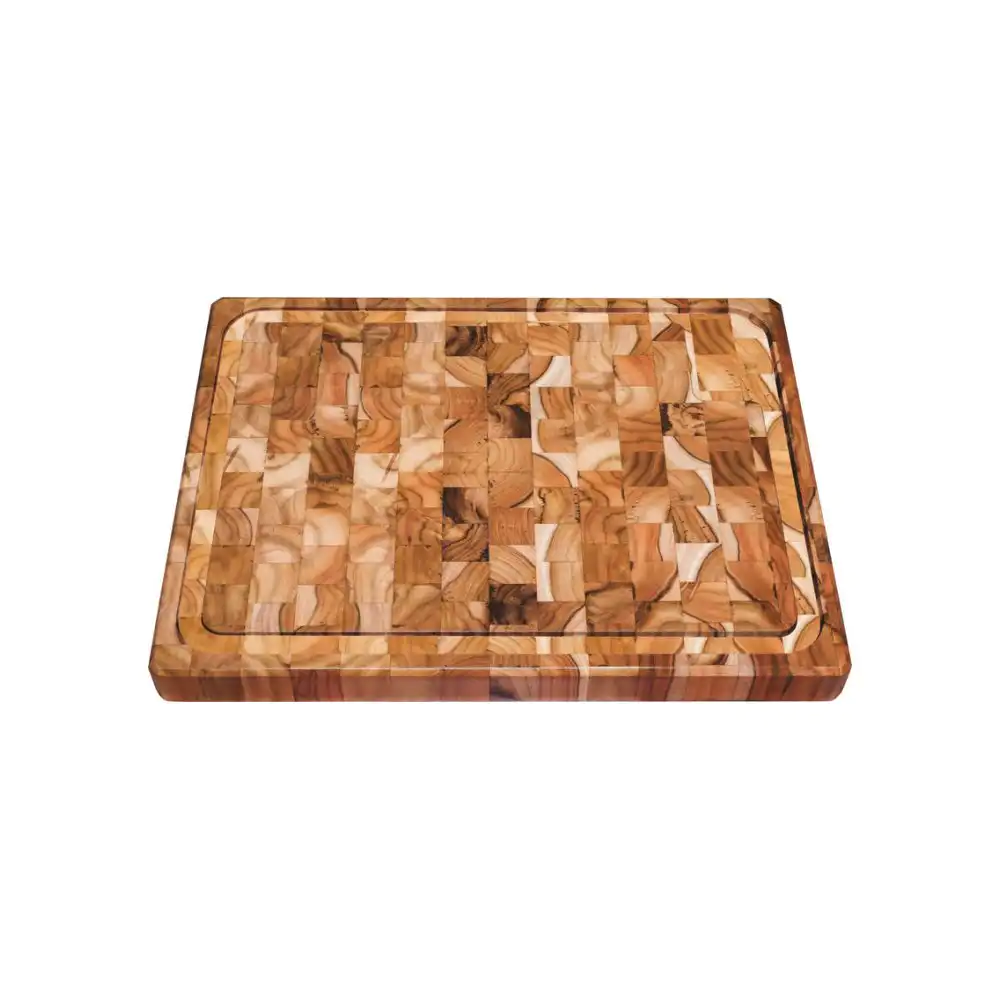
Tramontine Wooden Table
Faca de chef Tramontina de 6 polegadas

Measure reapers
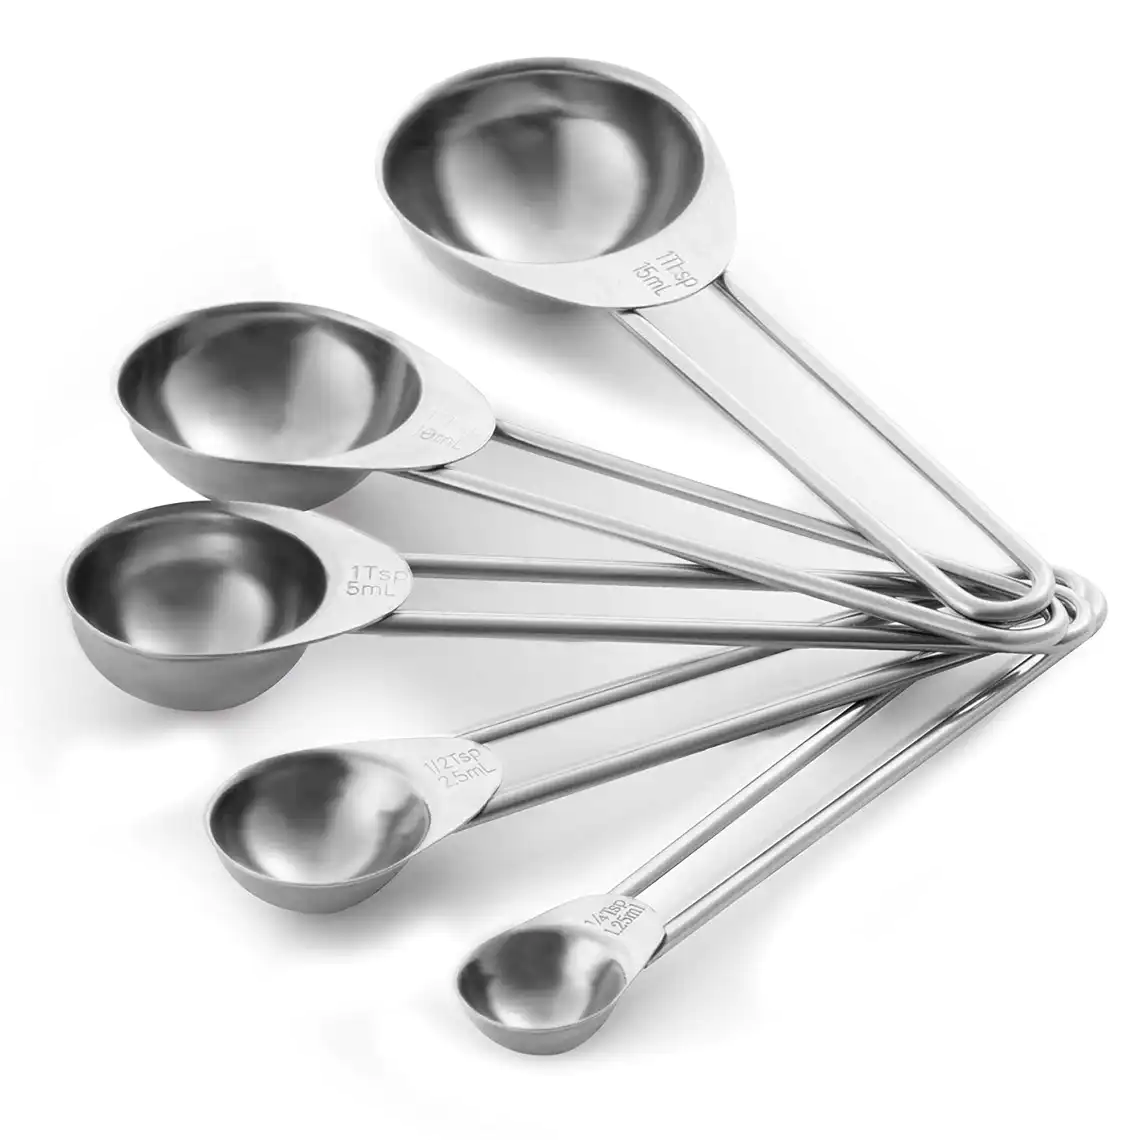
Face coverings
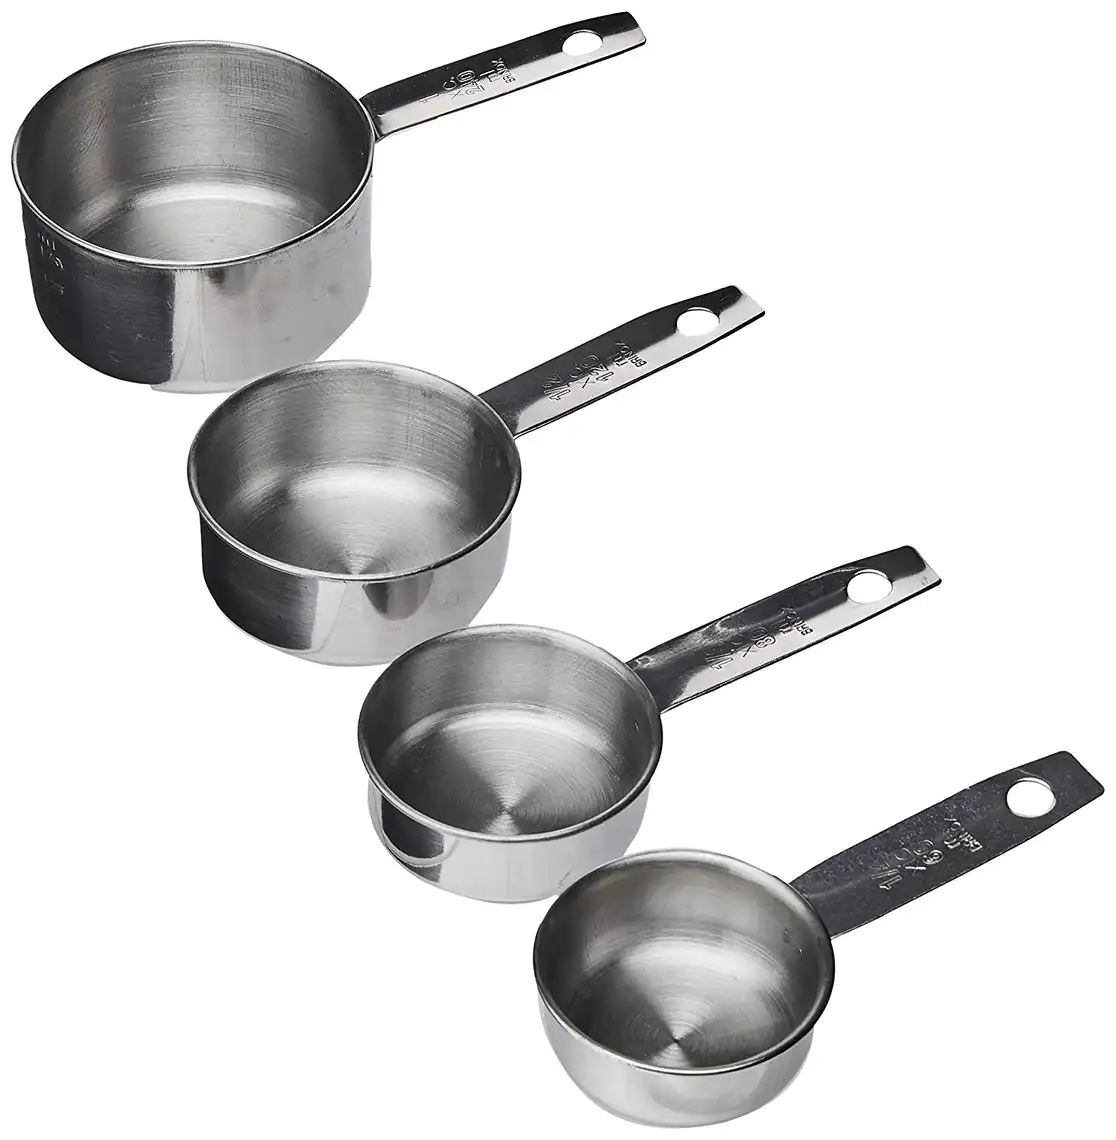
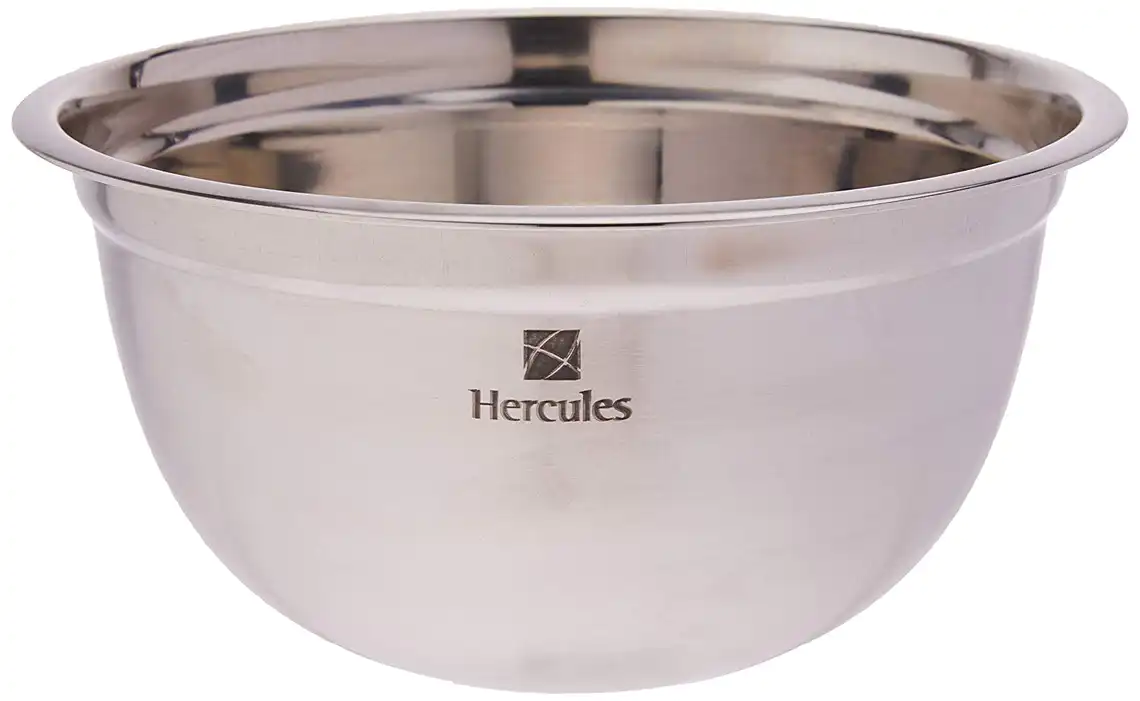
Recipiente de aço inoxidável, Hercules
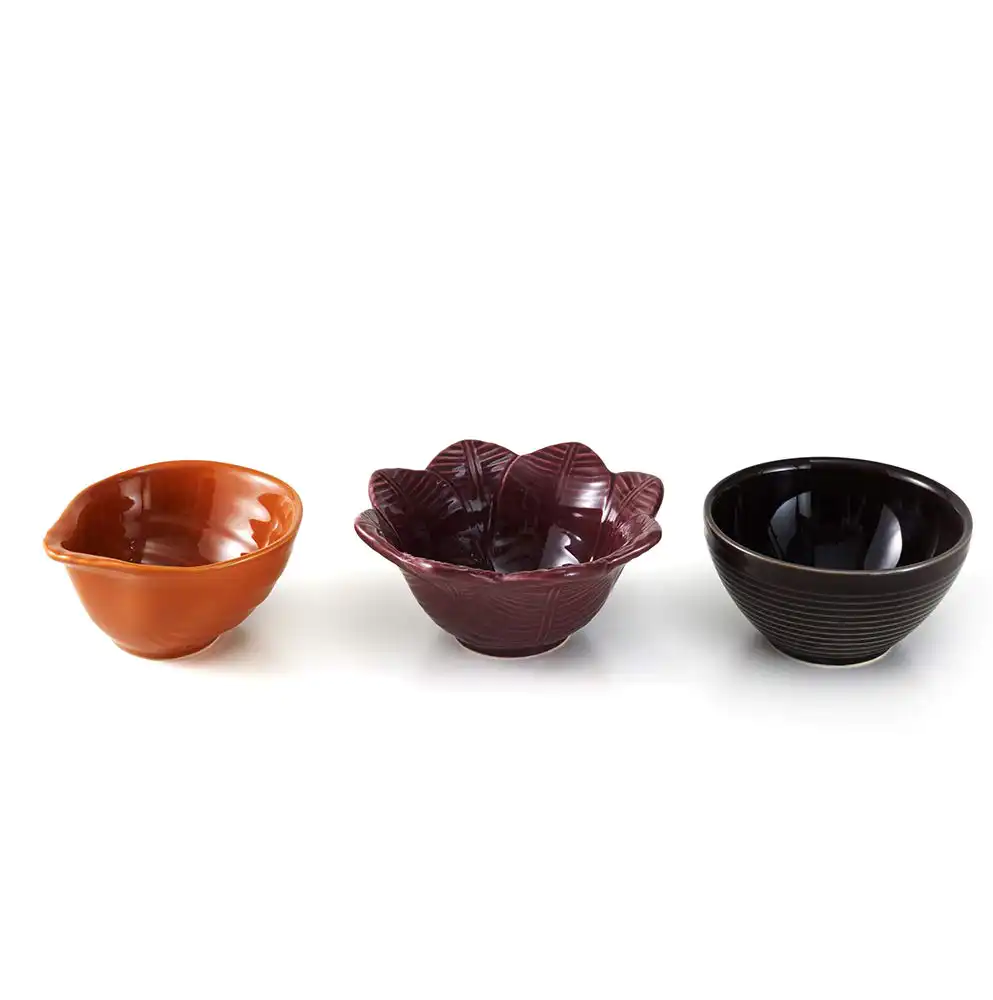
Conjunto de três cumbucas, Acervo Paninha
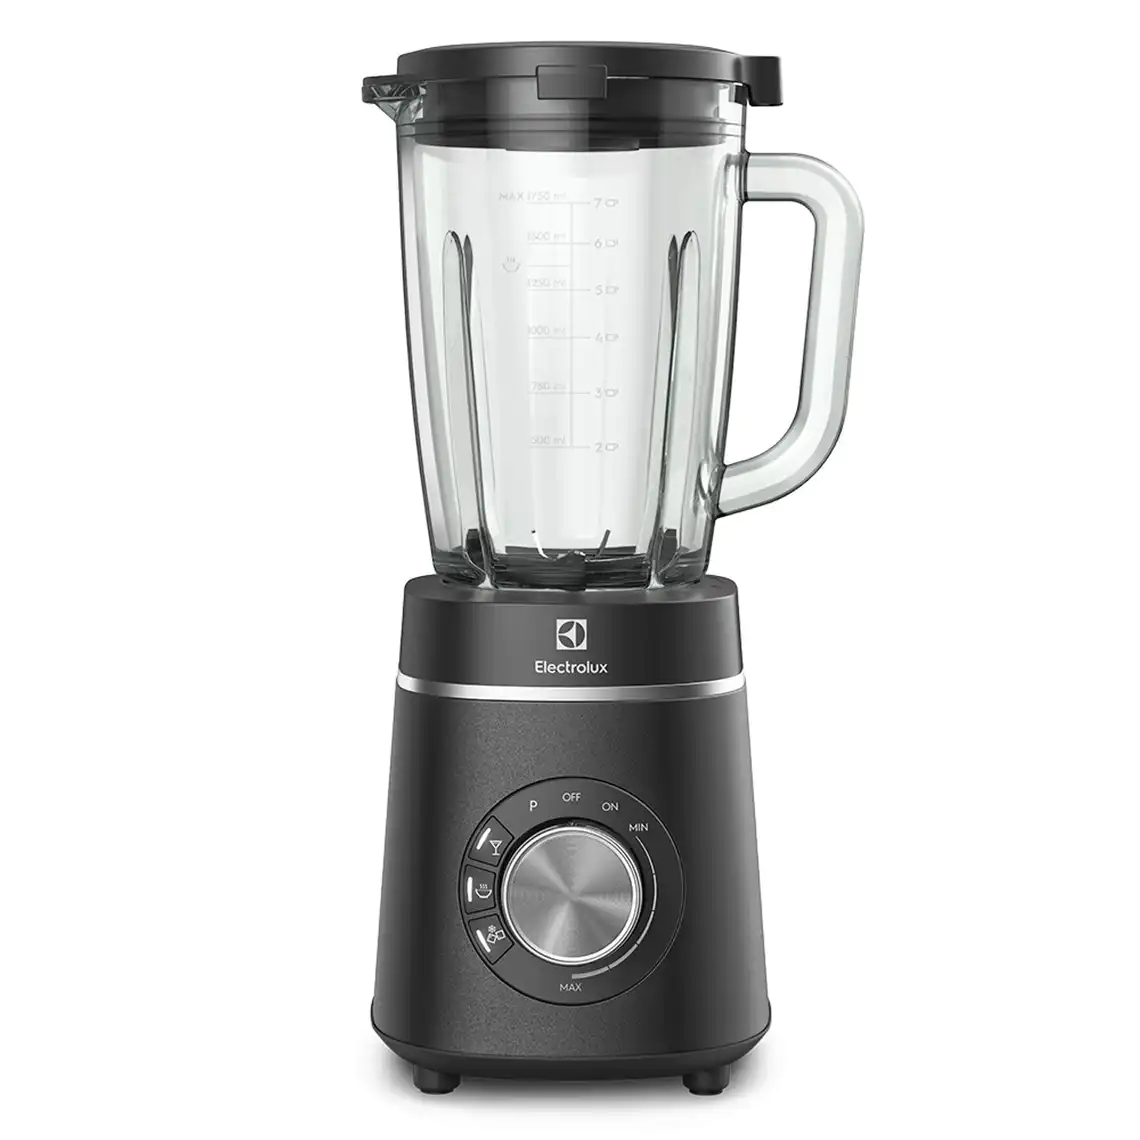
Electrolux Expert Liquidator, 1200 W
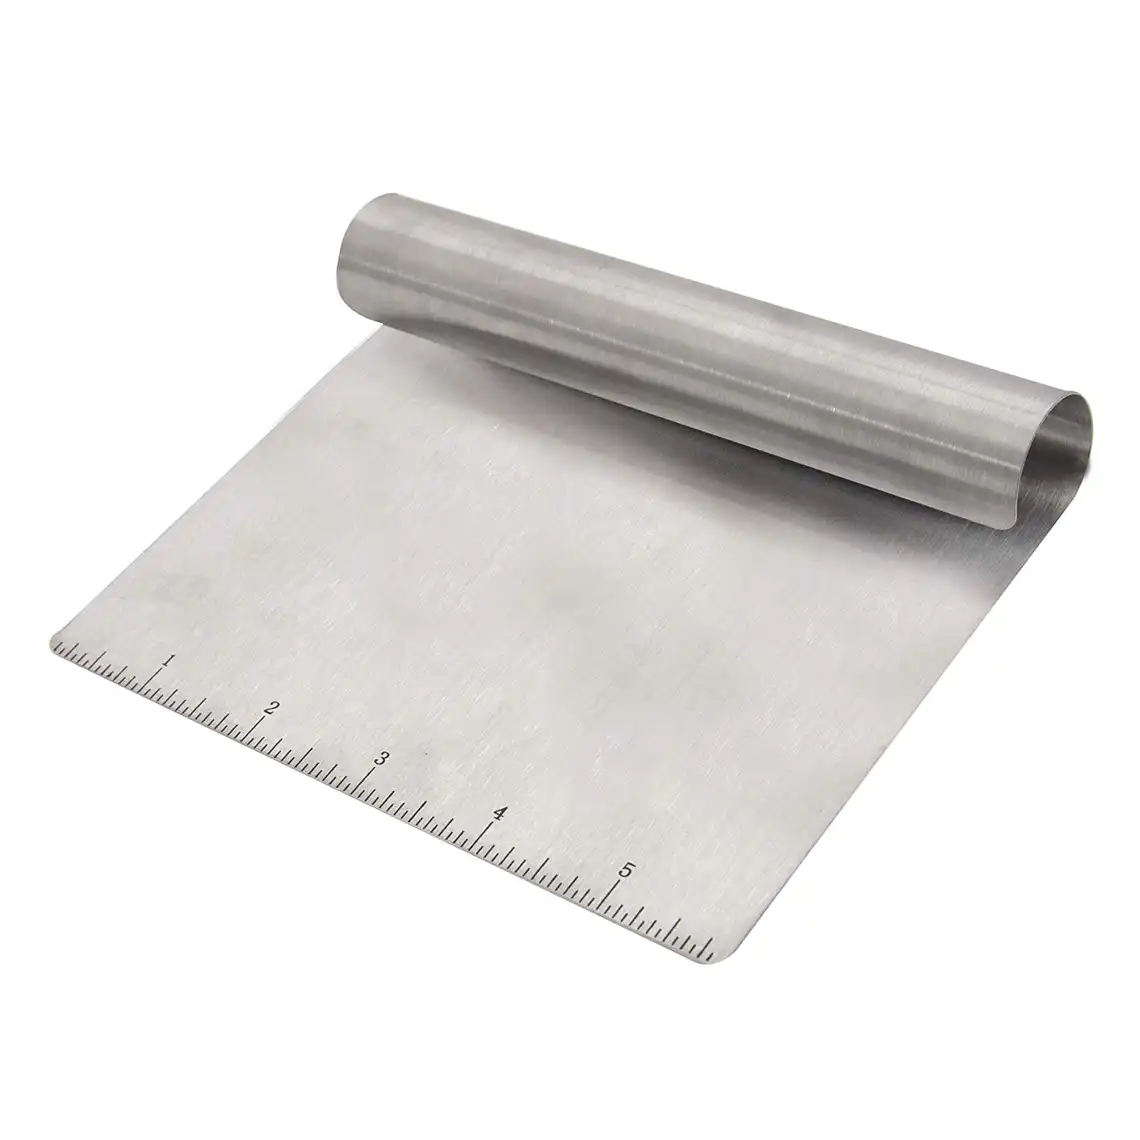
Mimo Style stainless steel spatula
Staub silicone scraper
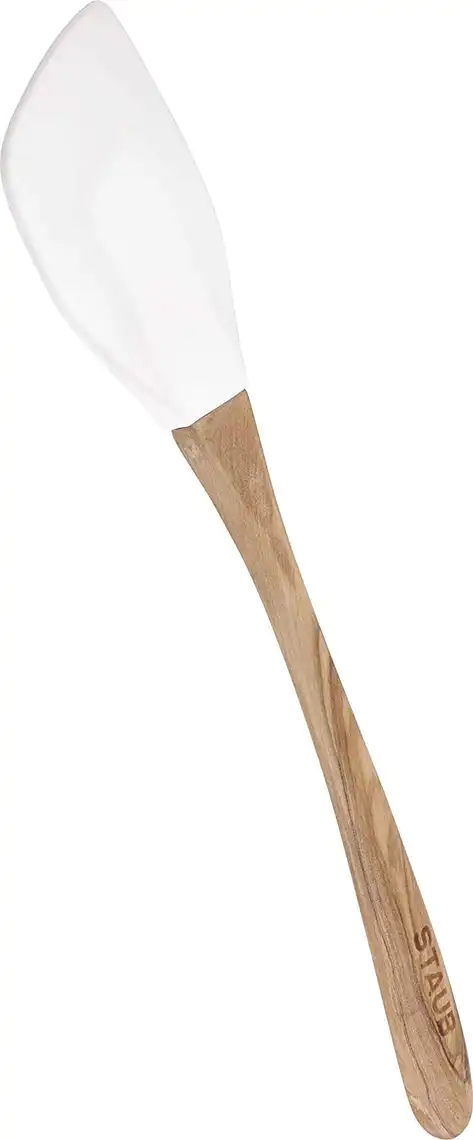
8” Tramontina Bread Knife

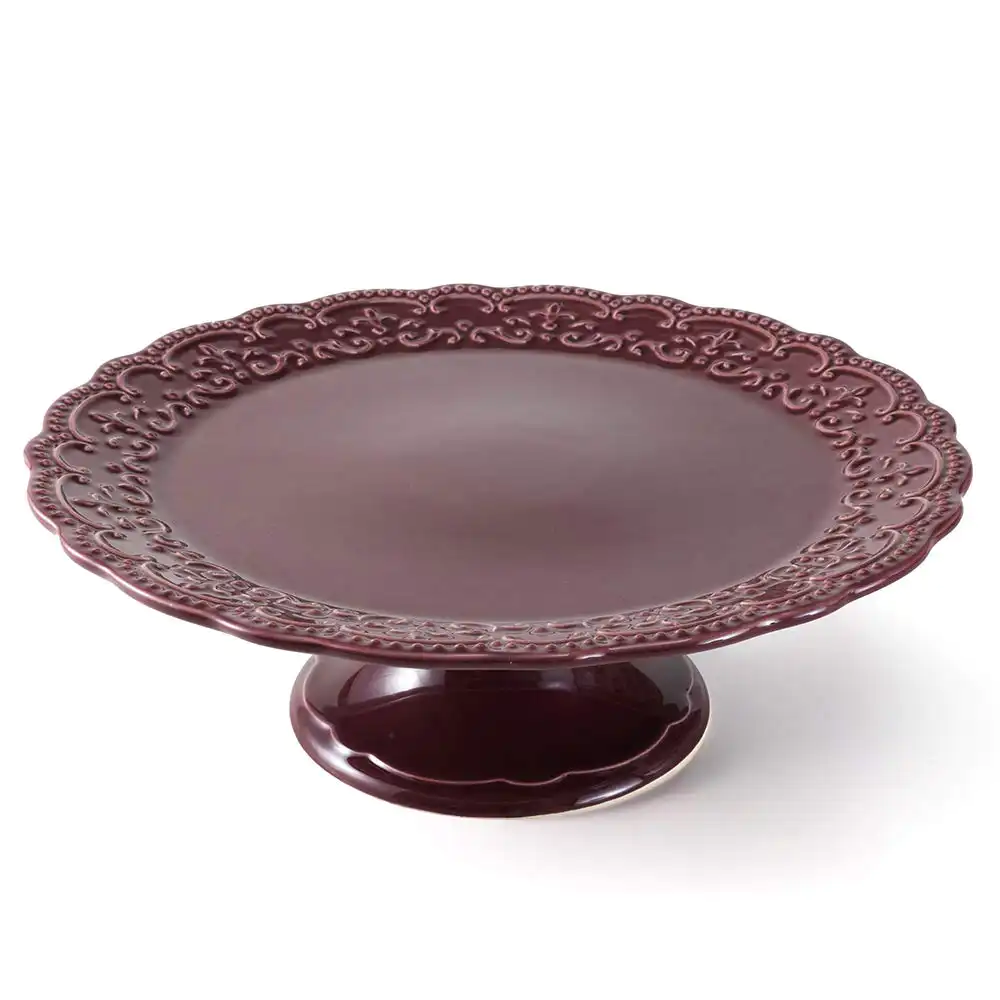
Large cake plate with pedestal [sumac], Paninha Collection
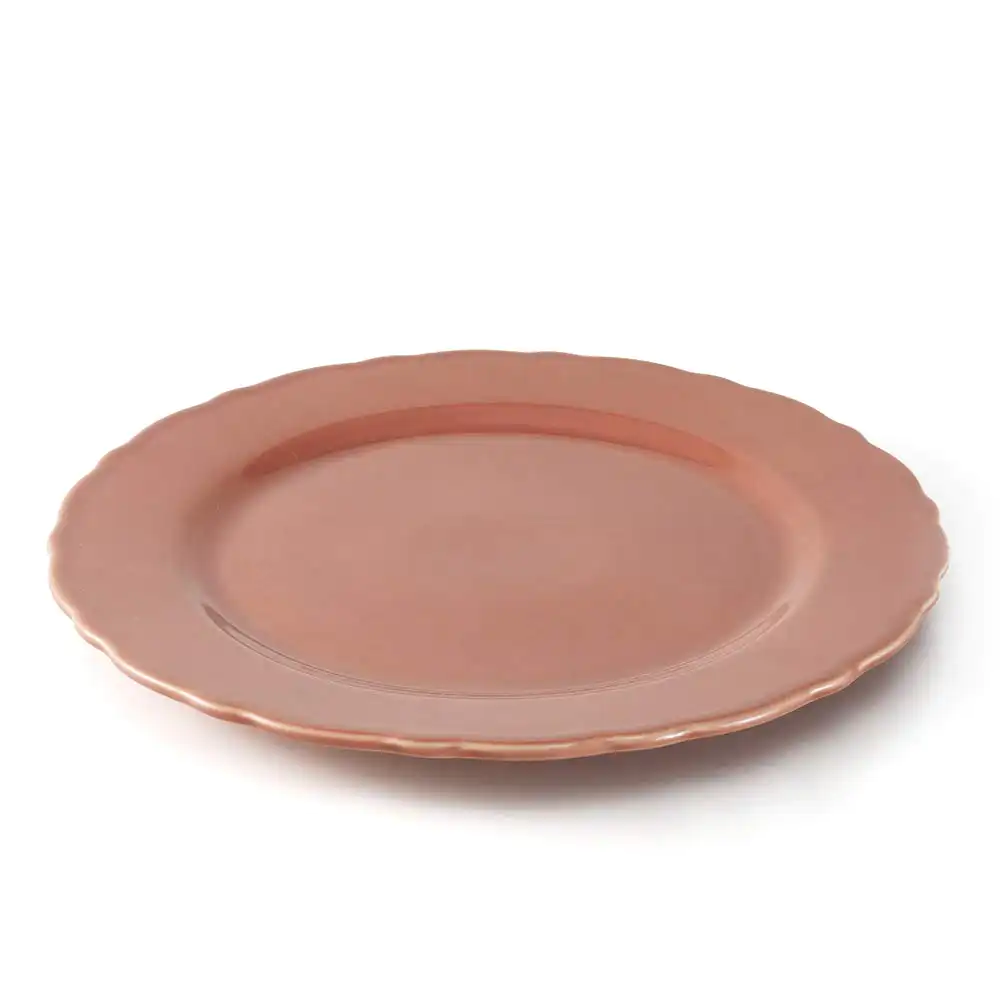
Pink cake plate, Paninha Collection
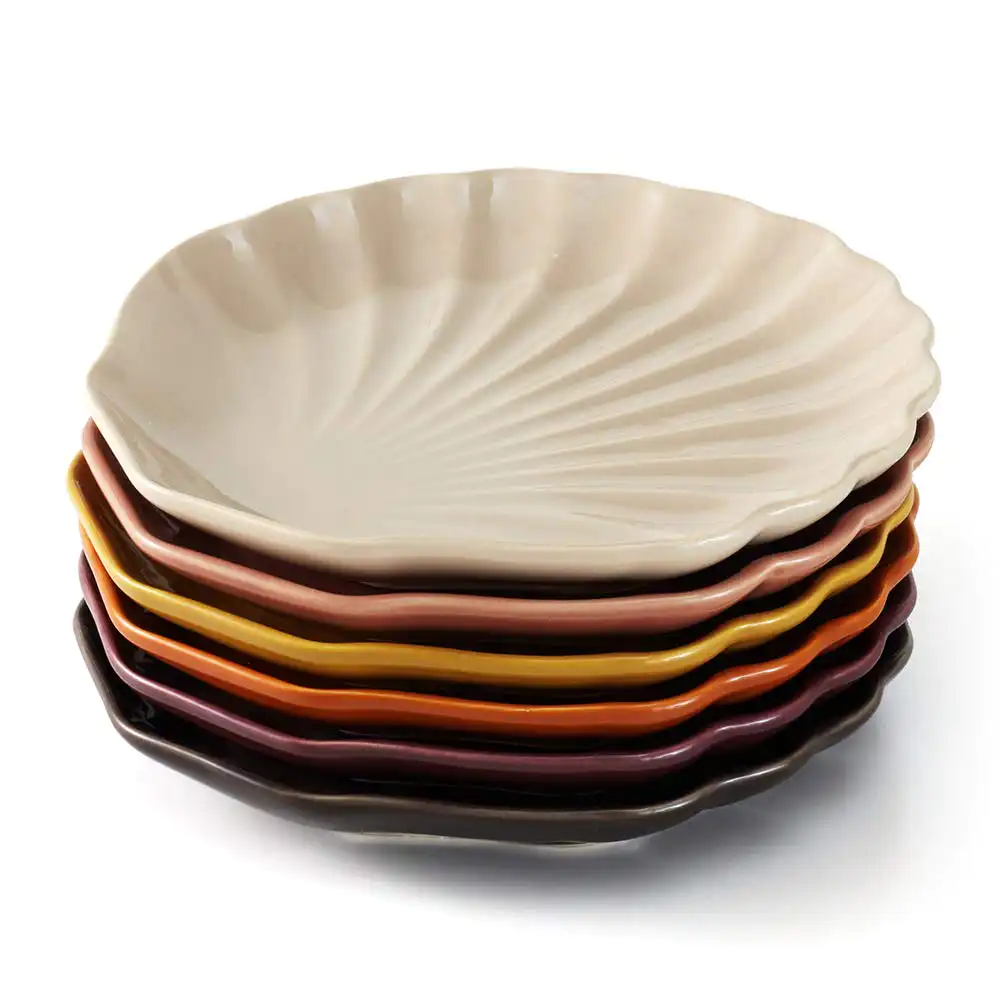
Set of Versatile Dishes, Vibrant, Acervo Panelinha
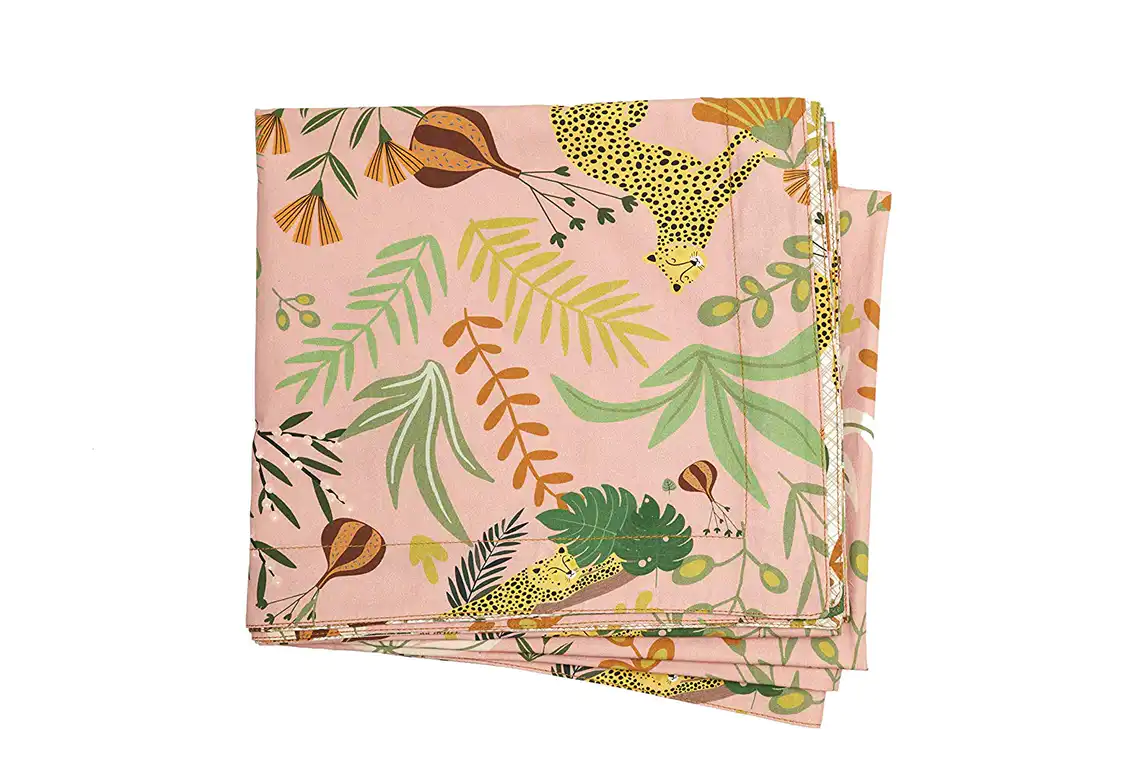
Tablecloth G Onça measuring 3.20 x 1.50, Acervo Paninha
Game featuring an alley with 6 glasses, Rojemac